Easy Tips for Decorating a Perfectly Balanced Christmas Tree
You’ve spent time selecting the perfect tree, and now you’re ready to metamorphose it into a stunning centerpiece for your home. The difference between a haphazardly decorated tree and a professionally styled one often comes down to following a systematic approach. By understanding the proper order of decoration and using strategic placement techniques, you’ll create a balanced, eye-catching display that captures attention from every angle. Let’s investigate how to achieve that polished look.
Key Takeaways
- Start with lights at the base and spiral upward, using approximately 100 lights per vertical foot for even illumination.
- Layer garland and ribbon before ornaments, weaving them vertically and tucking deeper near the trunk for dimension.
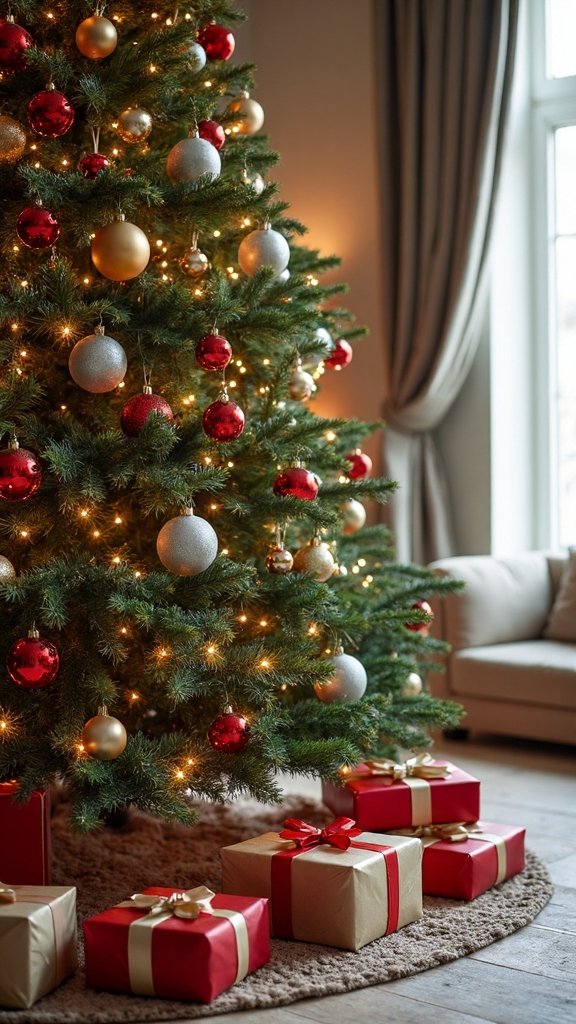
- Distribute ornaments by size—large first as anchors, then medium, finishing with small pieces to fill gaps.
- Place matching colors in triangular patterns at varying heights and depths to create balanced visual flow.
- Fill remaining spaces with floral picks, berry sprays, and textured elements to add depth without overcrowding.
Start With Quality Lighting as Your Foundation
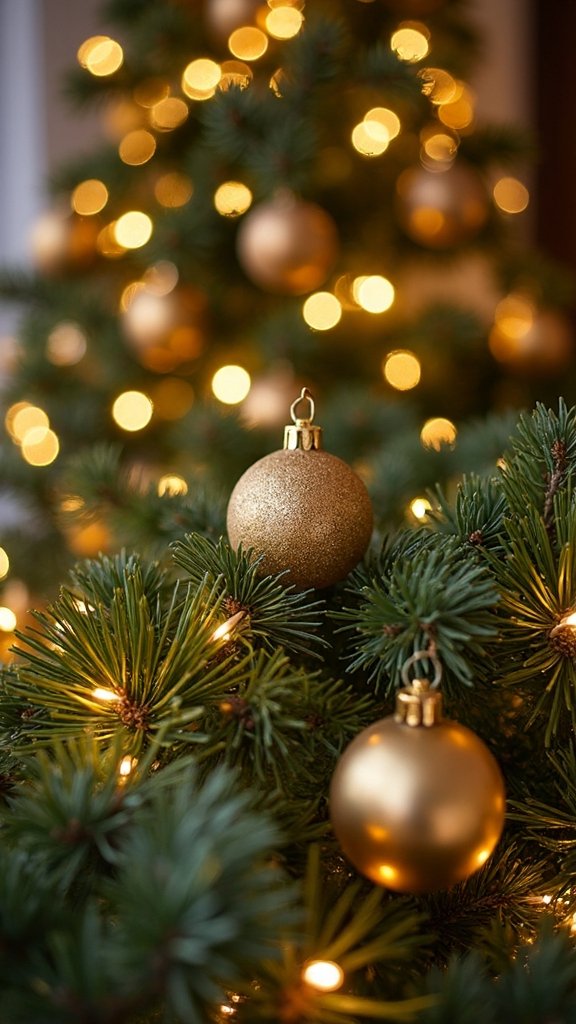
Before you hang a single ornament or drape any garland, installing your lights creates the illuminated backbone of your entire tree design. Proper lighting placement starts from the trunk and works outward toward branch tips, ensuring even coverage throughout. You’ll want to weave strands deeper into the tree rather than wrapping them around the outside surface only.
Test your lights before installation to avoid frustrating troubleshooting later. Brightness intensity control matters greatly—warm white bulbs create traditional ambiance, while cool white offers contemporary appeal. Plan for approximately 100 lights per vertical foot of tree height. Start at the bottom and spiral upward, maintaining consistent spacing between each strand. This methodical approach prevents dark spots and creates depth, making your tree glow beautifully from every angle. Illuminating your home with holiday window lights can also set the festive tone.
Layer Your Garland and Ribbon Before Adding Ornaments
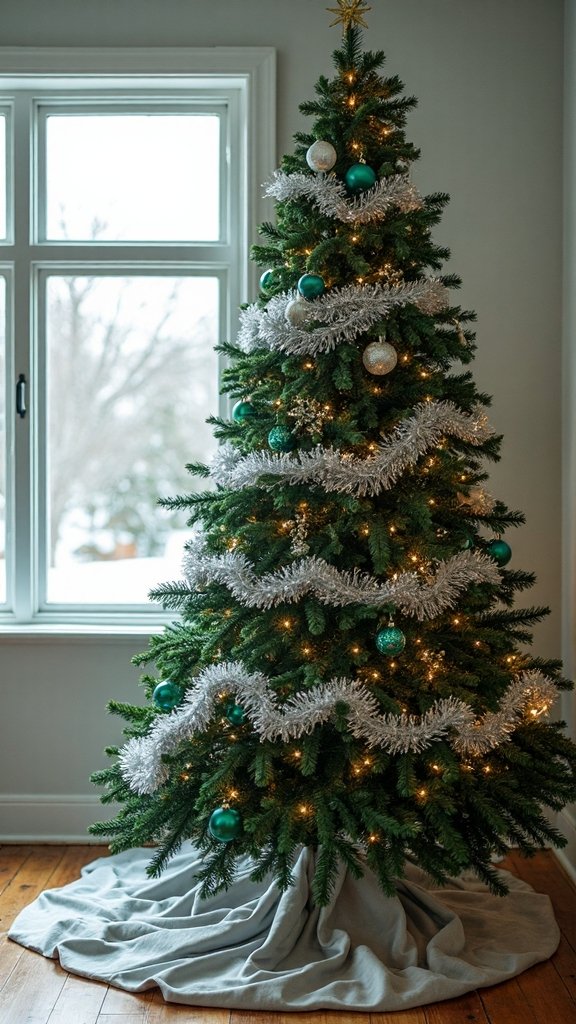
With your lighting perfectly positioned, garland and ribbon installation comes next to build visual texture and movement throughout your tree. Start by draping garland in a spiraling pattern from top to bottom, spacing each loop evenly. You’ll want to tuck garland deeper into branches near the trunk and allow it to extend slightly toward the tips for dimensional depth.
Next, employ multiple ribbon types to create visual interest—combine different widths, patterns, and textures that complement your color scheme. Weave ribbons vertically through branches in a zigzag pattern, letting them cascade naturally. This approach establishes the structure for strategic layer ornament placement later. By completing this step before hanging ornaments, you’ll avoid disturbing delicate decorations and achieve a more cohesive, professional-looking result. Ribbon placement techniques are essential for a balanced and professional finish.
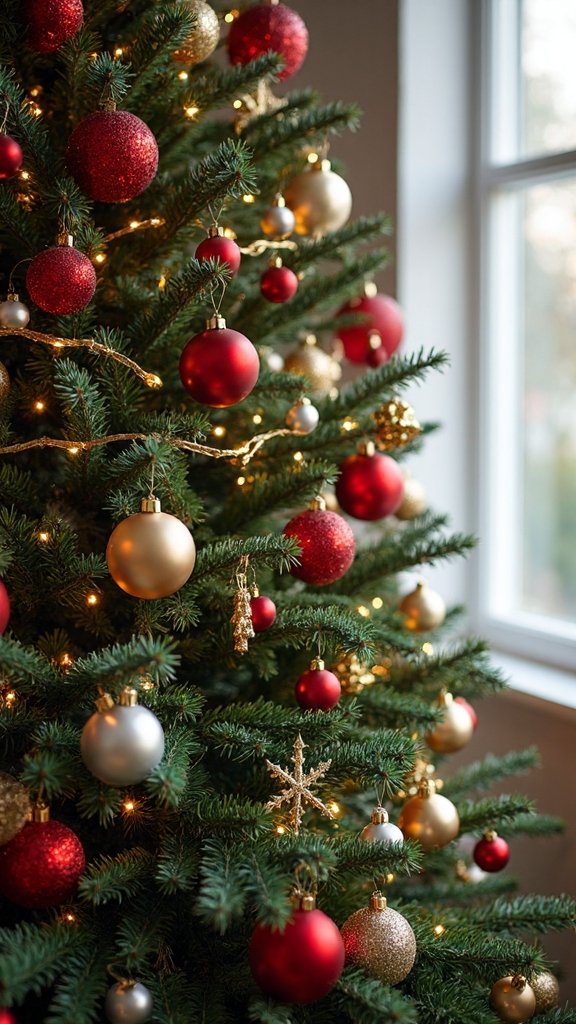
Distribute Ornaments by Size: Large, Medium, Then Small
Once your garland and ribbon structure is secure, you’re ready to hang ornaments using a strategic size-based approach. Start by placing your largest ornaments first, spacing them evenly around the tree to create visual anchors. Position these statement pieces at varying depths within the branches for dimensional interest.
Next, fill gaps with medium-sized ornaments, maintaining balanced distribution across all visible sections. Emphasize gradual ornament reduction as you work through each size category, preventing any area from appearing overcrowded or sparse. Elegant outdoor Christmas tree decor can be used to elevate the overall look of your display.
Finally, add small ornaments to complete your design. Consider ornament arrangement patterns like triangular groupings or diagonal lines to guide the eye naturally. This methodical progression guarantees proper weight distribution and creates a cohesive, professional-looking display that’s visually appealing from every angle.
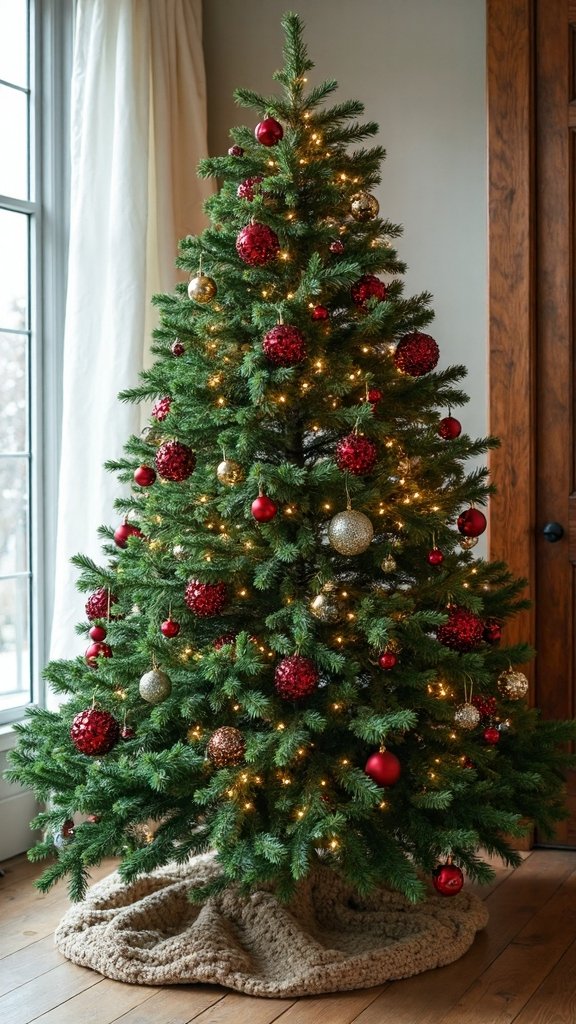
Create Visual Balance Through Strategic Color Placement
Strategic color placement alters your decorated tree from simply full to genuinely alluring through intentional distribution techniques. You’ll achieve color harmony by distributing your ornaments in a triangular pattern, placing matching hues at different heights and depths throughout the tree. Don’t cluster all red ornaments together—instead, create visual flow by spacing them evenly around the tree’s circumference. Minimalist outdoor Christmas decor can also enhance the peaceful elegance of your festive setup. For symmetrical design, step back frequently to check your progress from multiple angles. Place one bold-colored ornament, then balance it with a similar shade on the opposite side. You can also use the “rule of three,” positioning ornaments in triangular formations to guide the eye naturally. Mix metallic finishes with solid colors to add dimension while maintaining cohesive color schemes that complement your overall décor vision.
Fill Gaps With Picks, Sprays, and Filler Decorations
After perfecting your color balance and ornament placement, you’ll notice some sparse areas that need attention to complete your tree’s polished look.
Strategic filler pieces alter bare spots into cohesive, professional-looking displays that enhance your overall design without overwhelming it.
Essential Filler Elements:
- Floral picks and berry sprays – These versatile additions create depth while filling empty branches between larger ornaments effectively.
- Pine cone clusters and twig bundles – Incorporate natural elements to add texture and rustic charm throughout your display.
- Ribbon loops and tulle puffs – Use smaller decorations like these to bridge gaps while maintaining your established color scheme.
- Glittered leaf stems and artificial greenery – These pieces blend seamlessly with your tree’s branches while adding subtle sparkle.
Tuck fillers deep into branches rather than placing them on tips for the most natural appearance. Outdoor Christmas greenery can also be incorporated to elevate your festive space.
Step Back Frequently to Check Your Tree From All Angles
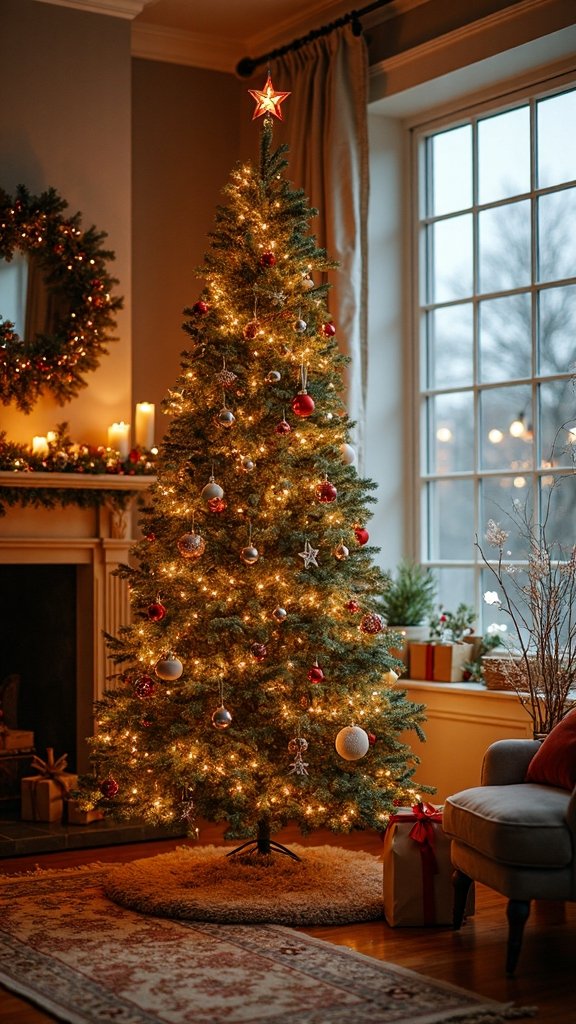
Your view from arm’s length doesn’t reveal the full image of your tree’s appearance throughout the room. Step back at least six feet after placing each layer of decorations to evaluate tree symmetry from multiple standpoints. Walk around the entire tree, checking for bare spots or overcrowded sections that weren’t visible up close.
Use alternate camera positions by crouching low to examine the lower branches, then standing on a step stool to view the top sections. Take photos from your room’s main entrance and seating areas where guests will see your tree most often. These images reveal imbalances your eyes might miss during the decorating process.
Make adjustments immediately when you spot issues, redistributing ornaments or adding filler pieces to achieve consistent coverage throughout. Brighten your holidays with colorful outdoor Christmas decor ideas featuring vibrant lights, bold ornaments, and cheerful themes for a joyful festive spirit.
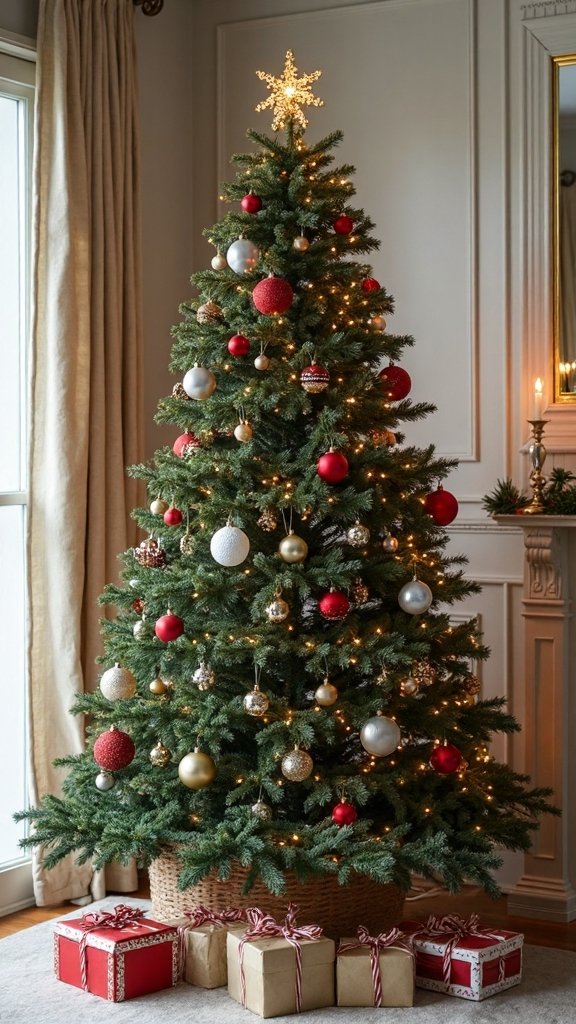
Add Your Tree Topper and Final Touches Last
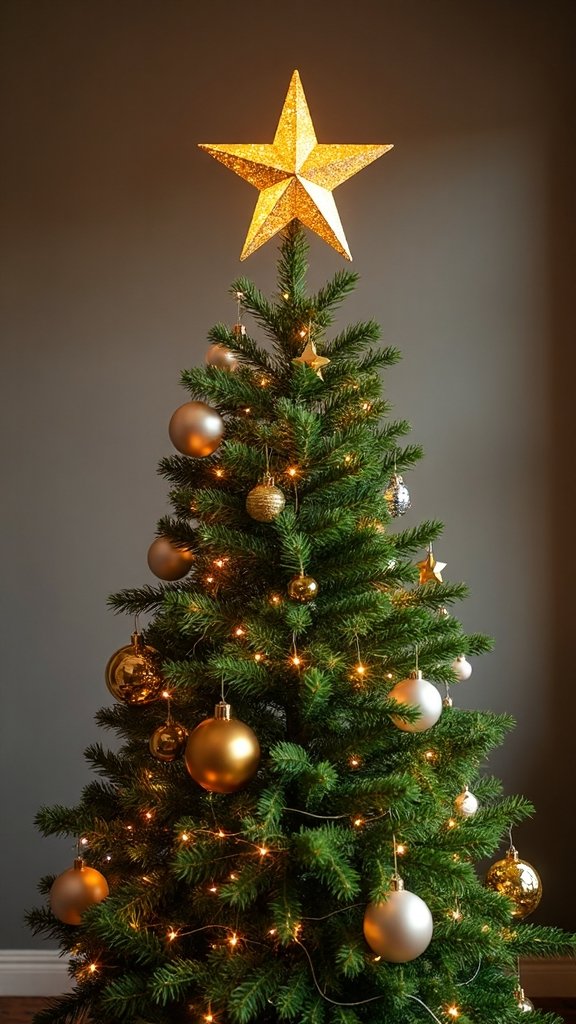
Once you’ve distributed all ornaments and checked your tree’s overall balance, it’s time to crown your pinnacle with its finishing elements. Consider tree topper placement carefully, ensuring it’s securely attached and properly centered before releasing your grip. This final addition completes your tree’s vertical design.
Timeless Outdoor Christmas Decor can also inspire ways to decorate your indoor tree.
Now apply these finishing touches to perfect your display:
- Adjust your tree topper’s position until it sits straight and complements your tree’s natural shape and height proportions.
- Monitor lighting intensity by dimming room lights to verify even illumination throughout all sections of your decorated tree.
- Fill any sparse areas with remaining small ornaments or decorative picks to achieve complete visual coverage.
- Fluff branches one final time to conceal wires and create natural fullness across your tree’s entire surface.
Frequently Asked Questions
How Do I Keep My Christmas Tree Fresh Throughout the Holiday Season?
You’ll keep your tree fresh by maintaining a consistent watering schedule, checking the water level daily. Add tree preservatives to the water reservoir to extend needle retention and prevent drying, ensuring your tree stays lively throughout December.
What Type of Christmas Tree Stand Works Best for Stability?
You’ll want a heavy-duty stand with tree base material like steel or cast iron for maximum stability. Tree stand adjustability features, including screw mechanisms and width settings, guarantee you’re securing your tree firmly regardless of trunk size.
How Much Water Does a Real Christmas Tree Need Daily?
You’ll need to provide about one quart of water per inch of trunk diameter daily. Your tree’s water absorption rate is highest during the first week, so maintain a proper watering schedule by checking levels twice daily initially.
Should I Use a Pre-Lit Tree or Add My Own Lights?
You’ll get more flexibility by adding your own LED light strands, allowing you to customize brightness and color. This approach also lets you better coordinate with your tree topper options and easily replace any malfunctioning sections.
How Do I Safely Dispose of My Tree After Christmas?
You’ll want to remove all decorations first, then research proper tree removal methods in your area. Check with local waste management for responsible recycling options like curbside pickup, community mulching programs, or designated drop-off locations.
Conclusion
You’ve now got all the essential steps to create a stunning, professionally balanced Christmas tree that’ll impress your guests. Remember to work methodically from lights to garland, then ornaments by size, finishing with strategic color placement and fillers. Don’t rush the process—stepping back frequently guarantees you’ll catch any gaps or imbalances. With these straightforward techniques, you’ll convert your tree into a beautiful holiday centerpiece that truly captures the season’s magic.